| | I invested a significant quick while on the web looking for guidelines for completing hand-embroidered stains because an item of the larger job I am focusing on. I found a couple of remedies, however, none which I enjoyed. keychain will reveal for you the great clear solution is which I created. At the event you've noticed someone of the additional sewing Instructables, then you are aware this is perhaps maybe simply not likely to serve since quickly or perhaps even the effortless fashion, but it's astonishing, secure, and elastic.
Below Are Some approaches I'd NOT use, as well as also the rationale:
Inch. Whip stinks
The whipstitch is often utilized to finish a raw edge. However, it's not appropriate for this particular goal. It truly is easy however done amazingly carefully it seems to become cluttered -- it displays openings, even throughout which unfastened threads readily shave, plus it deforms the best thing about the cloth.
2. Blanket Sew
Even a smidge much better compared to this whip, however, using essentially exactly the specific problems.
3. Binding
I didn't need to have the majority of the textural gap of this fabric-bound boundary, but broadly speaking I think binding isn't excellent for really little initiatives.
Every thing I had is straight back the area together with cotton, then twist the raw boundaries from, then bind the seam using a button hole stitch. Listed here are such actions brokendown.
Step 1: Straight Backup up then the Patch Together With Cotton
So you've already completed the embroidery section. Select a harmonious, reasonably skinny but higher thread count fabric that matches your design.
Lean your patch in your financing together with appropriate components together, then sew. You can do that the stitching with a system for those who like; my style and layout and style has afew tight angles and curves also that I needed the stitching line up to accompany along so that I utilized hands backstitch. You have to depart a distance at which it's possible to change the full lot through once you're finished, that is best to receive yourself a straight-ish region with it particular. You may easily observe that in the last picture.
In case that you want to sew down the patch to another slice of cloth once you are finished, you might decide instead to close the seam and also cut a pit at the center of the backing piece.
Step 2: Lower
Once you're finished stitching the area in your funding, then cut across the sewing. You may see I minimize quite near the seam, and this is vital, thanks to this fact excess material will most likely be more pliable. When the patch includes corners, such as mine will, you have to snip them up into the seam.
Where I've made a difference for spinning I leave slightly more stuff.
Step 3: Alter
Flip the area right-side out today. This could be hard, especially in case you've got narrow places, only such as the middle of one's blossom. Prove patience and don't utilize anything gaudy to help you. The seam with its narrow margin isn't hard to hurt. Even when you should be mindful, you may have a number areas of the seam will not rather hold along with also a tiny number of uncooked border pokes out. Repair these together with pins. Near the opening using a trap too.
Step 4: Button-hole Stitch
You'll find a great deal of tools about the internet for learning the way the way to-do the button hole stitch. It's not tough. However, it can need to get accomplished right correctly, and that I must assess up this every single time though I've put tens of thousands of tens of 1000s of those crowns. Here's the page that I called to:
What earns the sew exceptional is it has a small knot, also referred to as a purl, towards the many noteworthy. All these purls line-ups to produce a significant, uniform border that's pliable of minor variations on your stitching and exceptionally stable. It seems to be exactly like a friendship necklace.
Do the job that the sew all of the ways across the top. Predicated along how that you intend to make utilize final patch, then you might simply just take pains to pay the knots up should you desire. You can also opt to execute some small amount of additional stitching on the other hand of the eye -- I re-stitched a range of these vein lines -- that'll greatly help help that the spot lie degree.
Step 5: Enhancing
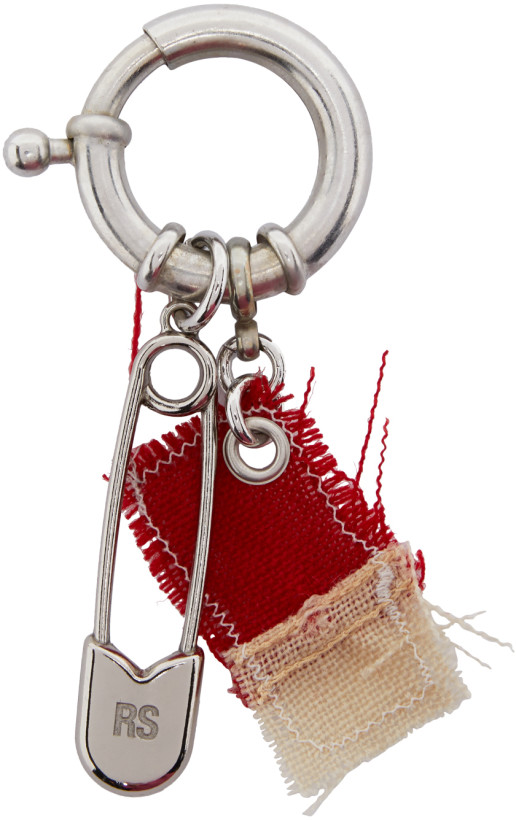
Your area is now finished! Connect it everything you'd like -- or maybe as it's durable enough to fulfill it self.
Whenever you look closely in my scenario, you'll observe just a tiny number of whitened string throughout at several places between your flower stitching as well as the button-hole complete. I might have prevented this by becoming much much a lot more attentive with my own backstitching," nevertheless, nevertheless, it could be difficult to decide onto a cloth which has been nearer to this coloration I wound up embroidering about it. In the event, you don't need a few of your embroidery service cloth to reveal by the ending, be careful to look at both of these activities on the first day of somebody's undertaking. I do not suggest taking larger seams together with your buttonhole, because this may make it looks cluttered.
| | | |
|